
No products
Prices are tax included
 View larger
Infrared Remote Control with IR Receiver
PRD-001733
New product
- CR2025 Battery
- Launch distance: 8m (concrete and the surrounding environment, the sensitivity of the receiving end of)
- Effective angle: 60 degrees
- Stable quality, cost-effective
- Paste material: 0.125mmPET effective life of 20,000 times
- Quiescent current 3-5uA, dynamic current 3-5mA
Available
More info
Here's a step-by-step tutorial on how to connect an infrared remote control with an IR receiver to an Arduino:
Step 1: Gather the Required Equipment:
- Arduino board (such as Arduino Uno)
- IR receiver module (e.g., TSOP38238 or similar)
- Infrared remote control
- Breadboard
- Jumper wires
Step 2: Understand the IR Receiver Module:
- The IR receiver module is a device that can receive infrared signals from an infrared remote control and convert them into electrical signals that can be read by an Arduino.
- It usually has three pins: VCC (power supply), GND (ground), and OUT (output).
- The VCC pin is used to provide power to the module (typically 5V).
- The GND pin is connected to the ground of the Arduino.
- The OUT pin is the output pin that provides a digital signal (HIGH or LOW) to the Arduino based on the received infrared signals.
Step 3: Connect the IR Receiver Module to the Breadboard:
- Insert the IR receiver module into the breadboard so that its pins are on separate rows.
- Connect the VCC pin of the IR receiver module to the 5V pin on the Arduino board using a jumper wire.
- Connect the GND pin of the IR receiver module to the GND pin on the Arduino board using a jumper wire.
- Connect the OUT pin of the IR receiver module to any digital pin on the Arduino board, such as D2, using a jumper wire.
Step 4: Record IR Remote Control Signals:
- Open the Arduino IDE software on your computer and create a new sketch.
- Install the "IRremote" library in the Arduino IDE by going to "Sketch" > "Include Library" > "Manage Libraries" and searching for "IRremote". Click on "IRremote" in the list of available libraries and click the "Install" button to install it.
- Copy and paste the following code into the sketch:
#include <IRremote.h>

int receiverPin = 2; // Pin number to which the OUT pin of the IR receiver module is connected

IRrecv irrecv(receiverPin); // Create an IRrecv object
decode_results results; // Create a decode_results object to store the decoded IR signals

void setup() {
  Serial.begin(9600); // Start serial communication
  irrecv.enableIRIn(); // Enable IR reception
}

void loop() {
  if (irrecv.decode(&results)) { // If an IR signal is received
    Serial.println(results.value, HEX); // Print the HEX value of the received IR signal to the serial monitor
    irrecv.resume(); // Resume IR reception
  }
}
- Verify and upload the code to your Arduino board.
- Open the Serial Monitor in the Arduino IDE to view the received IR signals.
- Point your infrared remote control towards the IR receiver module and press any button on the remote control.
- The code will decode and print the HEX value of the received IR signal to the serial monitor.
That's it! You have successfully connected an infrared remote control with an IR receiver to an Arduino and recorded the IR signals. You can now use the decoded IR signals to trigger actions in your Arduino project based on the buttons pressed on the remote control.
Accessories
Breadboard mini 1...
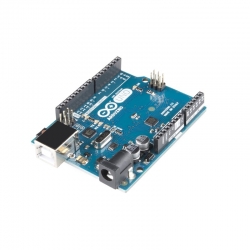
0,90 €Arduino Uno SMD Rev3
27,80 €DHT11 Digital Hum...
2,00 €Lithium Battery C...
0,55 €5V Relay Module K...
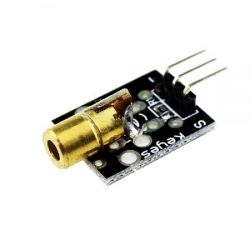
2,00 €Red Laser Transmi...
1,00 €


Customers who bought this product also bought:
-
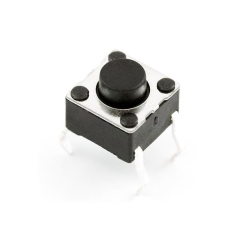
Pushbutton...
Push Tact Switch Measures: 6x6x4mm Quantity: 1...
0,10 €
-

Bridge...
Product: Bridge Rectifiers Mounting...
0,30 €
-

DHT22...
DHT22 - AM2302 Accuracy resolution:0.1 Humidity...
6,80 €
-
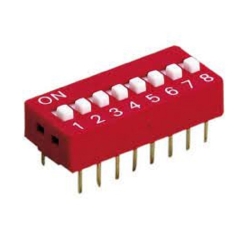
DIP Switch...
DIP switch with 8 individual switch positions....
0,35 €
-

Solid Cable...
Solid Cable 4 meters lenght Black Suitable for...
1,50 €
-
![C1-1 Soldering Tip [ZD-30C (30w), ZD-99, ZD-8906]](https://www.devobox.com/2504-home_default/c1-1-soldering-tip-zd-30czd-99zd-8906.jpg)
C1-1...
Soldering iron tip C1-1 (ZD-30C, ZD-99,...
1,60 €